How to run the MailChimp connector locally
Step-by-step guide
1. Create an ngrok tunnel to your localhost
Install ngrok
brew cask install ngrok
Open a tunnel in your terminal
ngrok http 3001

Take note of the https url used "https://0a5ce37e.ngrok.io"
2. Setup an environment on the dev platform
Login to the dev platform at https://developer-uat.maestrano.io/login.
Find the MailChimp app, and create an environment for your local app, e.g. Local(NYC)
It is necessary to create a new environment because your ngrok url will be unique to your running tunnel
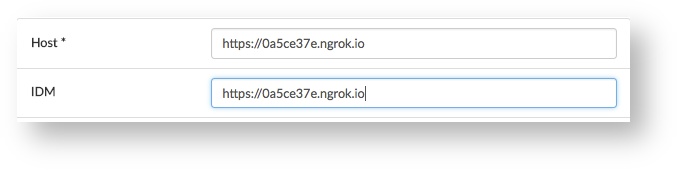
Set your Host and IDM to your ngrok https url.
3. Configure your connector
Show the API keys for your environment.
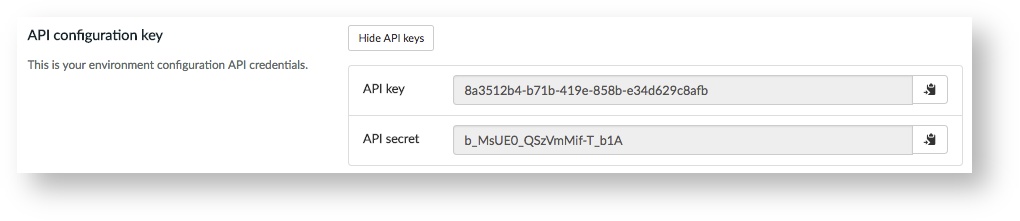
Add them to application.yml in your connector.

4. Setup authorization
Your MailChimp callback url will be: "https://<yourNgrokHttpsUrl>/auth/MailChimp/callback" e.g. "https://0a5ce37e.ngrok.io/auth/MailChimp/callback"
Head to the oauth controller in your connector (app/controllers/oauth_controller.rb).
Define your callback_uri.
def callback_uri
	https://0a5ce37e.ngrok.io/auth/MailChimp/callback
end
5. Register an app on MailChimp
Create a MailChimp account or login at https://mailchimp.com/
Head to your account page from the dropdown on the top right.
Go to Extras > Registered Apps
Here you will register an app for integrating Connec! with the MailChimp API using your local connector.
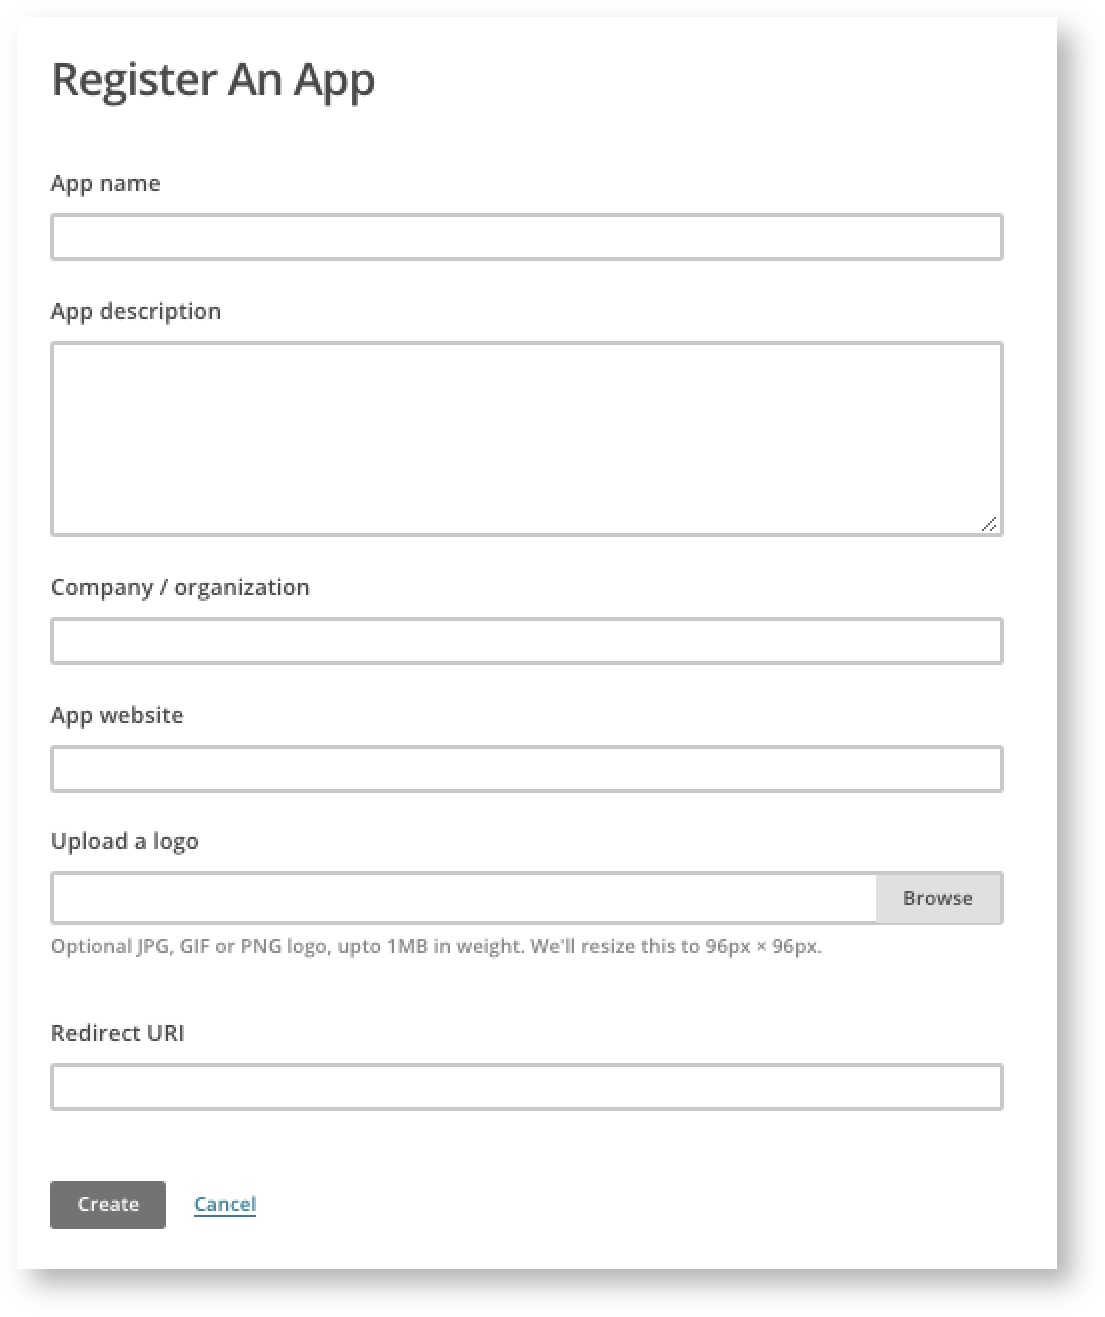
App name: My Local MailChimp Connector
App description: I’m integrating with Maestrano!
Company/organization: Maestrano
App website: www.maestrano.com
Redirect URI: <Your callback uri from above> e.g. "https://0a5ce37e.ngrok.io/auth/MailChimp/callback"
Create your app and grab the Client ID and Client Secret.
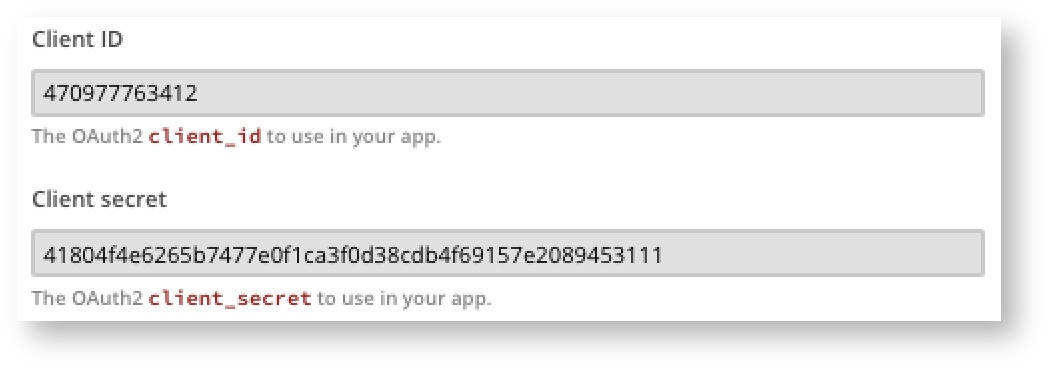
Add these to your connector's application.yml.

6. Start developing!
Run your connector:
rails s -p 3001