Deploying a Connector
This page describes how to use Nex!™ to configure and deploy an application based on Maestrano's connector framework. At the end of this process your connector will be live and running.
In this example, we will assume that a connector application has been created on Github using the maestrano-connector-framework.
It is assumed that the application has been registered on the Developer Platform first.
1 - Create a new application on Nex!
# Create a new application with a default memory size of 512MB
nex-cli apps:create maestrano/web-ruby --size 4 --desc "My App Connector [UAT]" --tags "connector,uat,myapp"

# Keep track of the app name to make things simpler
export app=switchable-squid-8

# Transfer app ownership to your parent organization (e.g. maestrano)
nex-cli apps:transfer $app maestrano

# Add the mysql and redis add-ons
nex-cli addons:create mysql $app
nex-cli addons:create redis $app
2 - Configure the application and add-ons
The simplest way is to configure the environment variables using a YAML file, you can reuse this template:
PORT: 3000
RAILS_ENV: uat
DATABASE_URL: "{{MYSQL2_URL}}"
SECRET_KEY_BASE: # Type `rake secret` in your shell to generate one
SIDEKIQ_USERNAME: admin
SIDEKIQ_PASSWORD: # Random password
MNO_DEVPL_HOST: https://developer-uat.maestrano.io
MNO_DEVPL_API_PATH: /api/config/v1/marketplaces
MNO_DEVPL_ENV_NAME: # Application nid / short name
MNO_DEVPL_ENV_KEY: # Developer Platform API KEY
MNO_DEVPL_ENV_SECRET: # Developer Platform API Secret
encryption_key1: # 128-bit WEP Key or SecureRandom.hex(29)
encryption_key2: # 128-bit WEP Key or SecureRandom.hex(29)
RAILS_MAX_THREADS: 64
newrelic_app_name: connector-myapp
newrelic_license_key: xxx
# Set the app configuration
nex-cli apps:vars $app --env-file path/to/file.yml
3 - Link the application to the Github repository
Provider is github, not git@github.com
The format of the "--link" option is: <provider>:<repo>:<branch>. Only one provider "github" is available at the moment. New providers such as "s3", "bitbucket" or "gitlab" will be made available in the future.
# SCM link
nex-cli apps:scm $app --link github:maestrano/connector-myapp:develop
4 - Add a custom domain
You need to manually add a record set in your DNS provider (e.g. AWS Route53) pointing to the Nex!™ generated URL. E.g. CNAME myapp.addon-hub.io pointing to holistic-raptor.mcube.co
# Register connector URL https://myapp.addon-hub.io
nex-cli domains:create myapp.addon-hub.io $app
5 - Register Log Drain on SumoLogic
You first need to register a Hosted SumoLogic Collector and use the generated collector URL
- Go to Manage > Collection > Add Collector
- Select "Hosted Collector" (the collector will be hosted by SumoLogic)
- For the name you should use the name of your actual connector for the log drain. E.g.: connector-vend-prd or connector-vend-uat
- SumoLogic then ask the type of collector you want. Select "HTTP"
- Use the same name as the collector for the name of the HTTP endpoint (e.g. connector-vend or connector-vend-uat)
- Select "UTC/Etc" for the timezone
- Once created SumoLogic will display a popup showing the log drain URL. Just copy that and use it for the next step
# Make sure to use the SumoLogic collector URL
nex-cli apps:update $app --http-log-drain https://collectors.au.sumologic.com/MY_RANDOM-LOG_DRAIN-TOKEN
6 - Start the connector
# Start the connector app
nex-cli apps:up $app

# Check the logs
# Note: you can as well check the logs in SumoLogic if you have setup a drain
nex-cli apps:logs $app --tail 200
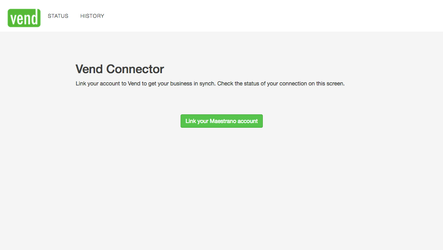
And access your connector: https://myapp.addon-hub.io
7 - New Relic monitoring
Production connectors must be monitored with NewRelic so we are alerted of any downtime
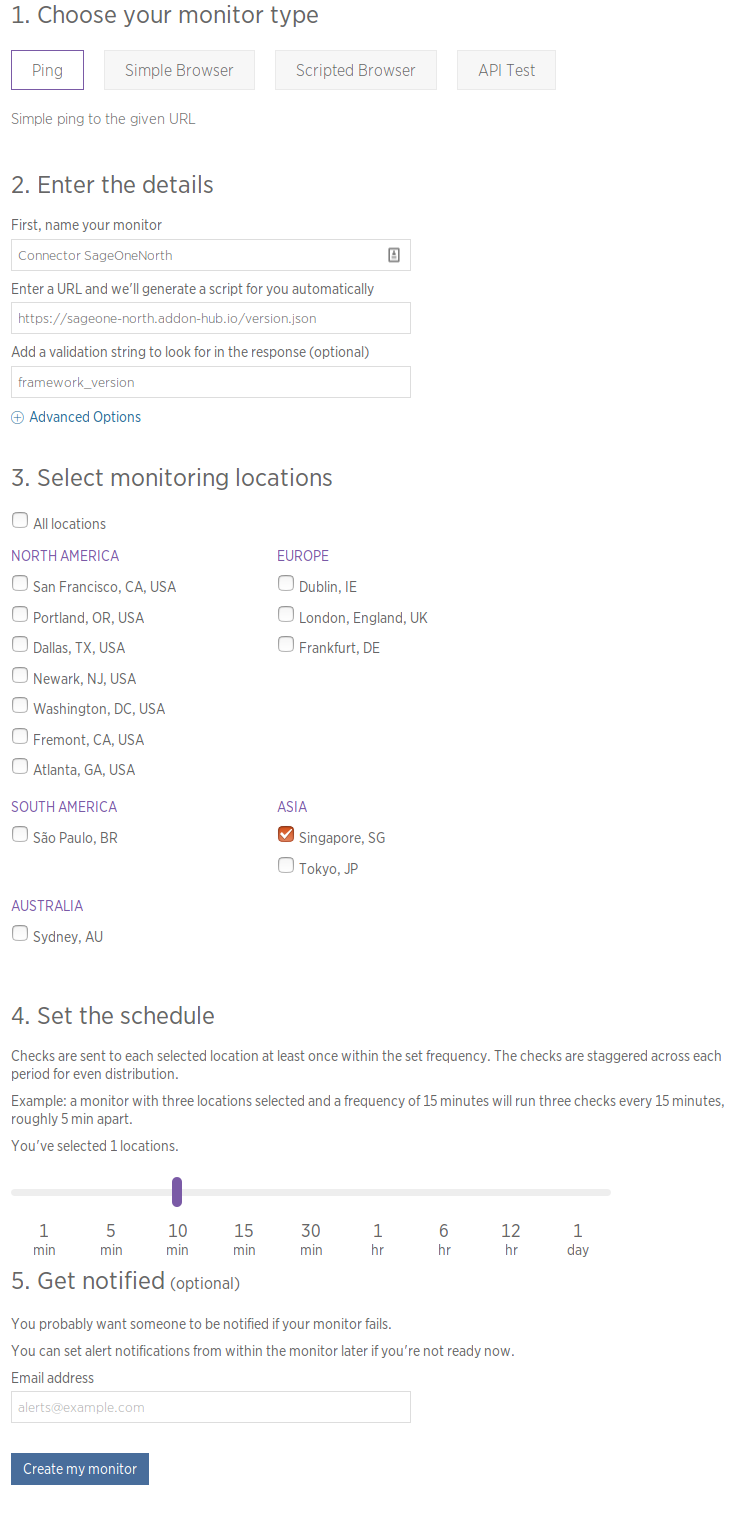
To create a monitoring alert, log into the NewRelic account and go to Synthetics
- Type: Ping
- Details
- Name: Connector MyApplication
- URL: https://myapp.addon-hub.io/version.json
- Validation string: framework_version
- Monitoring locations: Singapore
- Schedule: 10 minutes
- Notification: "Add to an existing alert policy" - "Synthetics connectors - PRD"

