This article explains how to create a new customised express frontend or change the branding of an existing frontend.
| Table of Contents | ||
|---|---|---|
|
1 - Run the project in development mode
The following command will allow you to see changes to the frontend in real time in the browser.
| Code Block | ||
|---|---|---|
| ||
foreman start -f Procfile.dev |
Be aware, that it does not take into account new files added.
If you add new files, you will need to build the project (see 2-Buildtheproject) for asset files
2 - Build the project
Running the following command in the terminal willThis article explains how to create a new customised express frontend or change the branding of an existing frontend.
| Table of Contents | ||
|---|---|---|
|
1 - Run the project in development mode
The following command will allow you to see changes to the frontend in real time in the browser.
| Code Block | ||
|---|---|---|
| ||
foreman start -f Procfile.dev |
Be aware, that it does not take into account new files added.
If you add new files, you will need to build the project (see 2-Buildtheproject) for asset files
2 - Build the project
Running the following command in the terminal will create a "dashboard" directory under the /public folder with the compiled frontend, this is required if you modify the LESS/CSS and/or CoffeeScript/JavaScripts, or add new files under /frontend directory.
| Code Block | ||
|---|---|---|
| ||
bin/rake mnoe:frontend:build |
3 - Customise the frontend style
3.1 - Define your enterprise colours (theme.less)
To apply your company color palette to the frontend, create the corresponding LESS variables in theme.less (my-enterprise/frontend/src/app/stylesheets/theme.less).
Here is an example of the variables used in the default template:
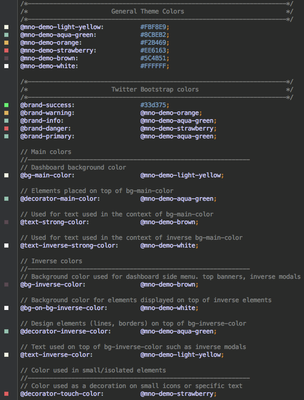
At the top of theme.less, the section named "General Theme Colors" is the main palette. Replace it by your own variables, with your own color names and values.
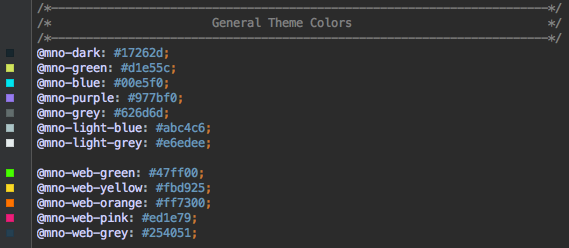
Here is the color palette used for Maestrano's own platform:
Once you have defined your color palette variables, reuse them to set the other variables underneath.
These other variables are default variables (main and inverse colors) used in variables.less to provide a default frontend customisation.
3.2 - Adjust the frontend style (variables.less)
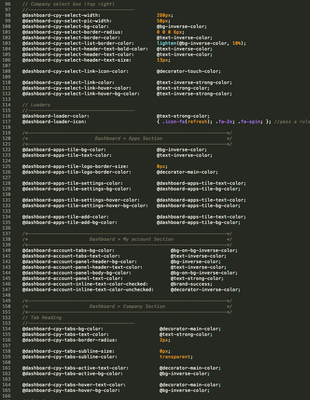
The variables.less file allows fine tuning of the frontend style. It is provided with default values (my-enterprise/frontend/src/app/stylesheets/variables.less).
The file is composed of multiple sections corresponding to views and components. If any value is inappropriate, you can change it by reusing any variable from the theme.less file.
for example, in theme.less, in the "General Theme Colours" section:
| Code Block | ||
|---|---|---|
| ||
// Used for text used in the context of bg-main-color @mno-dark: #17262d; |
in theme.less, in the "Main colors" section:
| Code Block | ||
|---|---|---|
| ||
// Used for text used in the context of bg-main-color @text-strong-color: @mno-dark; |
And in variables.less
| Code Block | ||
|---|---|---|
| ||
/*-----------------------------------------------------------------------*/ /* Dashboard Layout */ /*-----------------------------------------------------------------------*/ @dashboard-section-title-color: @text-strong-color; |
3.3 - Add other customisations (custom.less)
| Status | ||||||
|---|---|---|---|---|---|---|
|
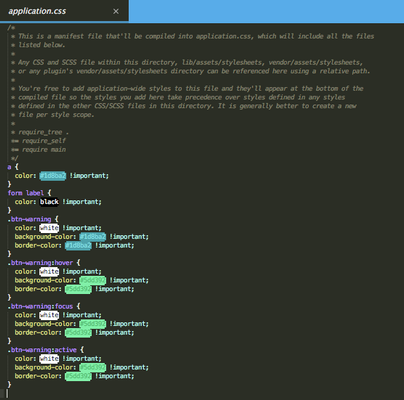
Sometimes, you might need to customise the style in a way that is not possible through variables.less. In this case, add a custom.less file in my-enterprise/frontend/src/app/stylesheets/ path.
In custom.less, you can overwrite the default CSS/LESS. Please follow these guidelines:
- Use variables defined in
theme.less - Use a specific CSS selector pointing to the element you want to overwrite to avoid changing the style of any other elements.
- You may need to flag some of your CSS/LESS instructions with
!importantfor the change to work.
| Warning |
|---|
Note that when you add a new file to your project, you will need to re-run the build task |
Example of customisation:
| Code Block |
|---|
// Tab text in bold and underlined
.dashboard-organization .tab-content .tab-pane .control-label {
  font-weight: bold;
  text-decoration: underline;
} |
3.3.1 - Images
| Warning |
|---|
Note that while using the |
To replace images or add new ones, you can drop them in the
my-enterprise/frontend/src/images/
3.3.2 - Favicons
You can generate your own favicons files using favicon-generator.org. Download the generated folder and copy its content in my-enterprise/frontend/src/images/favicons.
You will also need to add a copy of the favicon.ico located in the favicons directory in the following path my-enterprise/frontend/src/images/favicon.ico.
3.3.3 - Logo
Same small and expanded logos
For your company logo, you will need to override the image in my-enterprise/frontend/src/images/main-logo.png with your own logo.
You can modify these variables in variables.less, to adjust it.
| Code Block | ||
|---|---|---|
| ||
@login-box-brand-logo-img:                      "mno_enterprise/main-logo.png";
@login-box-brand-logo:                          { min-height: 61px; max-width: 160px; max-height: 130px; margin: 17px auto 5px auto; };
@dashboard-side-menu-brand-logo-expanded: { width: 250px; background-size: 100%; margin-left: -5px; margin-bottom: 10px;}; |
Different small and expanded logos
If you want two different logos depending on the side menu state (collapsed/expanded), you will need to add the two logos in the following path:
my-enterprise/frontend/src/images/main-logo-small.png
my-enterprise/frontend/src/images/main-logo-expanded.png
Then, you will need to modify the variables.less as following:
| Code Block | ||
|---|---|---|
| ||
@dashboard-side-menu-brand-logo-img:            "/dashboard/images/main-logo-small.png"; // Add this
@dashboard-side-menu-brand-logo-img-expanded:   "/dashboard/images/main-logo.png"; // Add this
@dashboard-side-menu-brand-logo:                { background-size: 116%; width: 64px; margin-left: -15px; margin-bottom: 10px; };
@dashboard-side-menu-brand-logo-expanded:       { width: 250px; background-size: 100%; margin-left: -5px; margin-bottom: 10px; background-image: url(@dashboard-side-menu-brand-logo-img-expanded);}; //Add this line and customise it if necessary
|
3.3.4 - Dashboard background image
To include a background image in the dashboard, you will need to add it in the following path: my-enterprise/frontend/src/images/main-background.png
Make sure you set the @dashboard-bg-background and @dashboard-bg-color variables properly:
| Code Block | ||||
|---|---|---|---|---|
| ||||
/*-----------------------------------------------------------------------*/ /* Dashboard Layout */ /*-----------------------------------------------------------------------*/ @dashboard-bg-background: "/dashboard/images/main-background.png"; @dashboard-bg-color: transparent; |
For a better looking background image, you can add a gradient in my-enterprise/frontend/src/app/stylesheets/custom.less:
| Code Block | ||
|---|---|---|
| ||
// General background image
.myspace {
  background-image:  linear-gradient(to bottom, rgba(255,255,255,0.65) 0%,rgba(255,255,255,0.65) 100%), url(@dashboard-bg-background) !important;
  background-size: cover;
  background-attachment: fixed;
} |
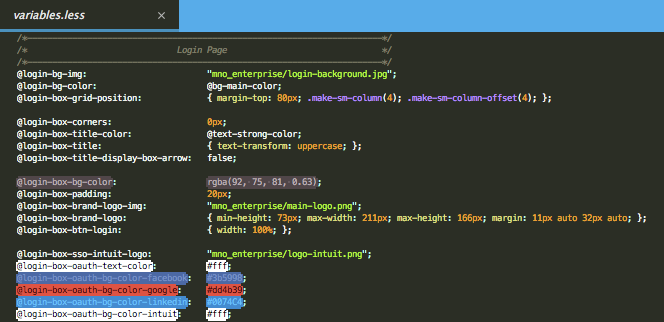
3.4 - Login pages customisation
3.4.1 - Login pages colours
| Warning |
|---|
Note that while using the |
| Warning |
|---|
The login pages are served through the Rails engine, so you need to build the frontend to see any changes (bin/rake mnoe:frontend:build) |
You can find the variables to customise the login pages in the "Login Page" section of variables.less. Change those variables with the ones you have created in theme.less.
As you might know by now, not all the elements in the login pages have variables, for this we have created a css file where you can overwrite any css element in the login pages. More than certainly you will need to flag the value with !important for this to have effect.
my-enterprise/app/assets/stylesheets/application.css
3.4.2 - Login pages images
| Warning |
|---|
The login pages are served through the Rails engine, so you need to build the frontend to see any changes ( |
To add a logo, favicon, background and a gif loader, please add them in the following path and make sure you respect the naming for overwriting correctly the files.
my-enterprise/app/assets/images/mno_enterprise/main-logo.png
my-enterprise/app/assets/images/mno_enterprise/login-background.jpg
my-enterprise/app/assets/images/mno_enterprise/loader-32x32-bg-inverse.gif
my-enterprise/app/assets/images/favicon.ico
The gif loader can be generated in pages like http://loading.io/, but please make sure the border colour match the background colour to avoid pixelation.
The favicon can be generated in http://www.favicon-generator.org/.
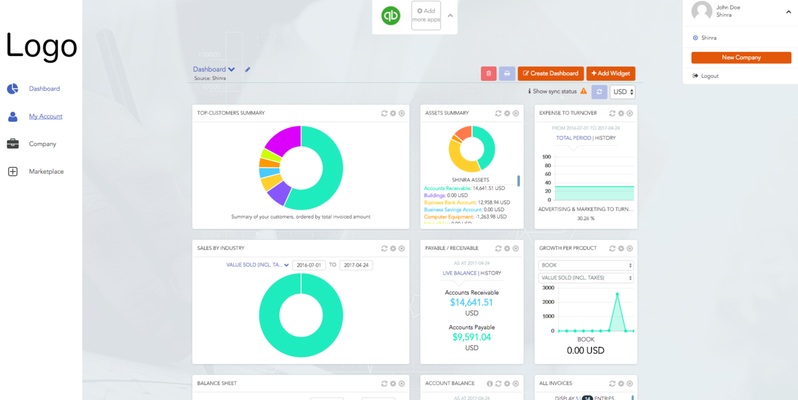
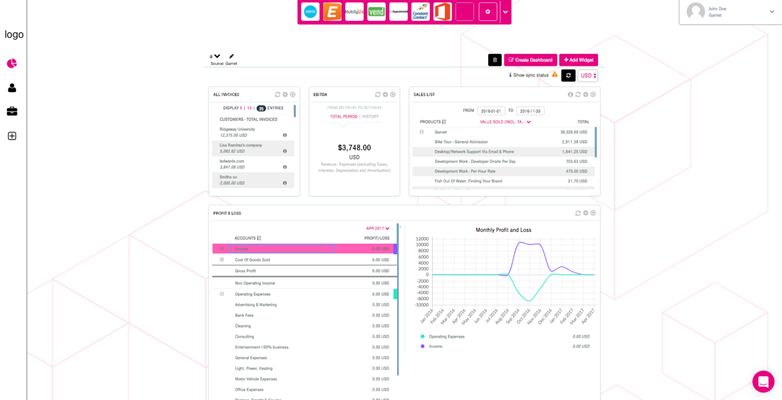
3.5 - Impac!™ dashboard customisation
The default configuration for Impac!™ is generally fine, unless you need a specific customisation. In this case, you can follow our guidelines in how to customise Impac!™
3.6 - Final build
Now that you have a customised project, it is time to build your frontend to apply all these changes (see Express branding#2-Buildtheproject)
4 - Examples of customisation)
4 - Examples of customisation
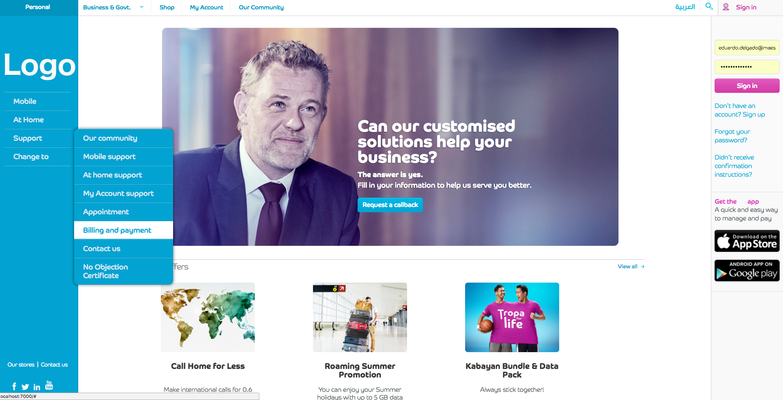
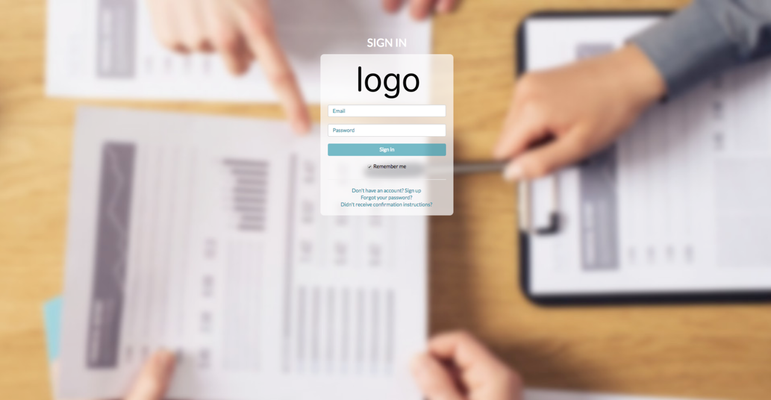
The login page can be deeply customised, and integrated with an existing platform.
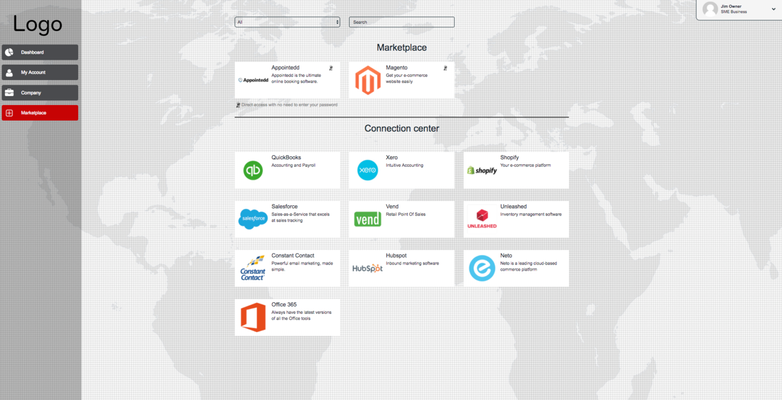
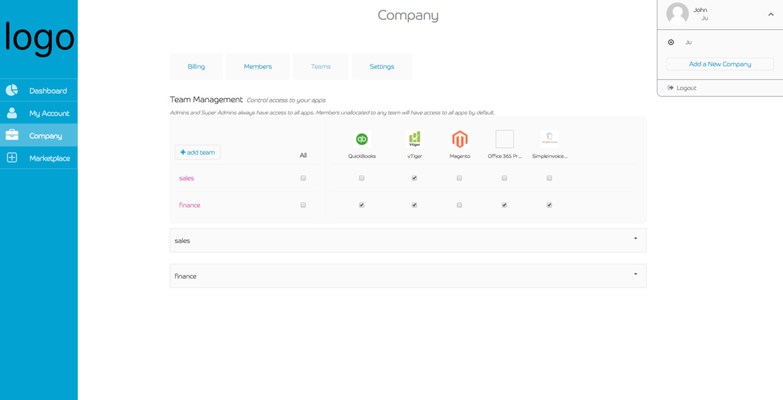
The Marketplace can be customised, and even modified to add new features.
5. Troubleshooting
If you encounter a strange behavior during development, the best way is to clear everything:
| Code Block | ||
|---|---|---|
| ||
# Clear the tmp folder bin/rake tmp:clear # Rebuild the frontend bin/rake mnoe:frontend:build # Restart gulp foreman start -f Procfile.dev |